The Covered Bridge Artisan Tour, in it’s 26th year has been reimagined as an online, virtual tour this year. Sign up to visit the artist studios on November 27, 28 and 29 each day from 11am-4pm. Come visit me November 27, 28 and 29 from 11am -4pm to see me working live in my studio. I will be creating a few new pieces each day, live. I will show you my process from beginning sculpting the form to the final glazing. I will be loading up my website with all of my available pieces starting on Thanksgiving Day. Shipping on all items will be free and you can make an appointment to visit my studio that weekend or any Saturday in December.
Collaborating with a friend
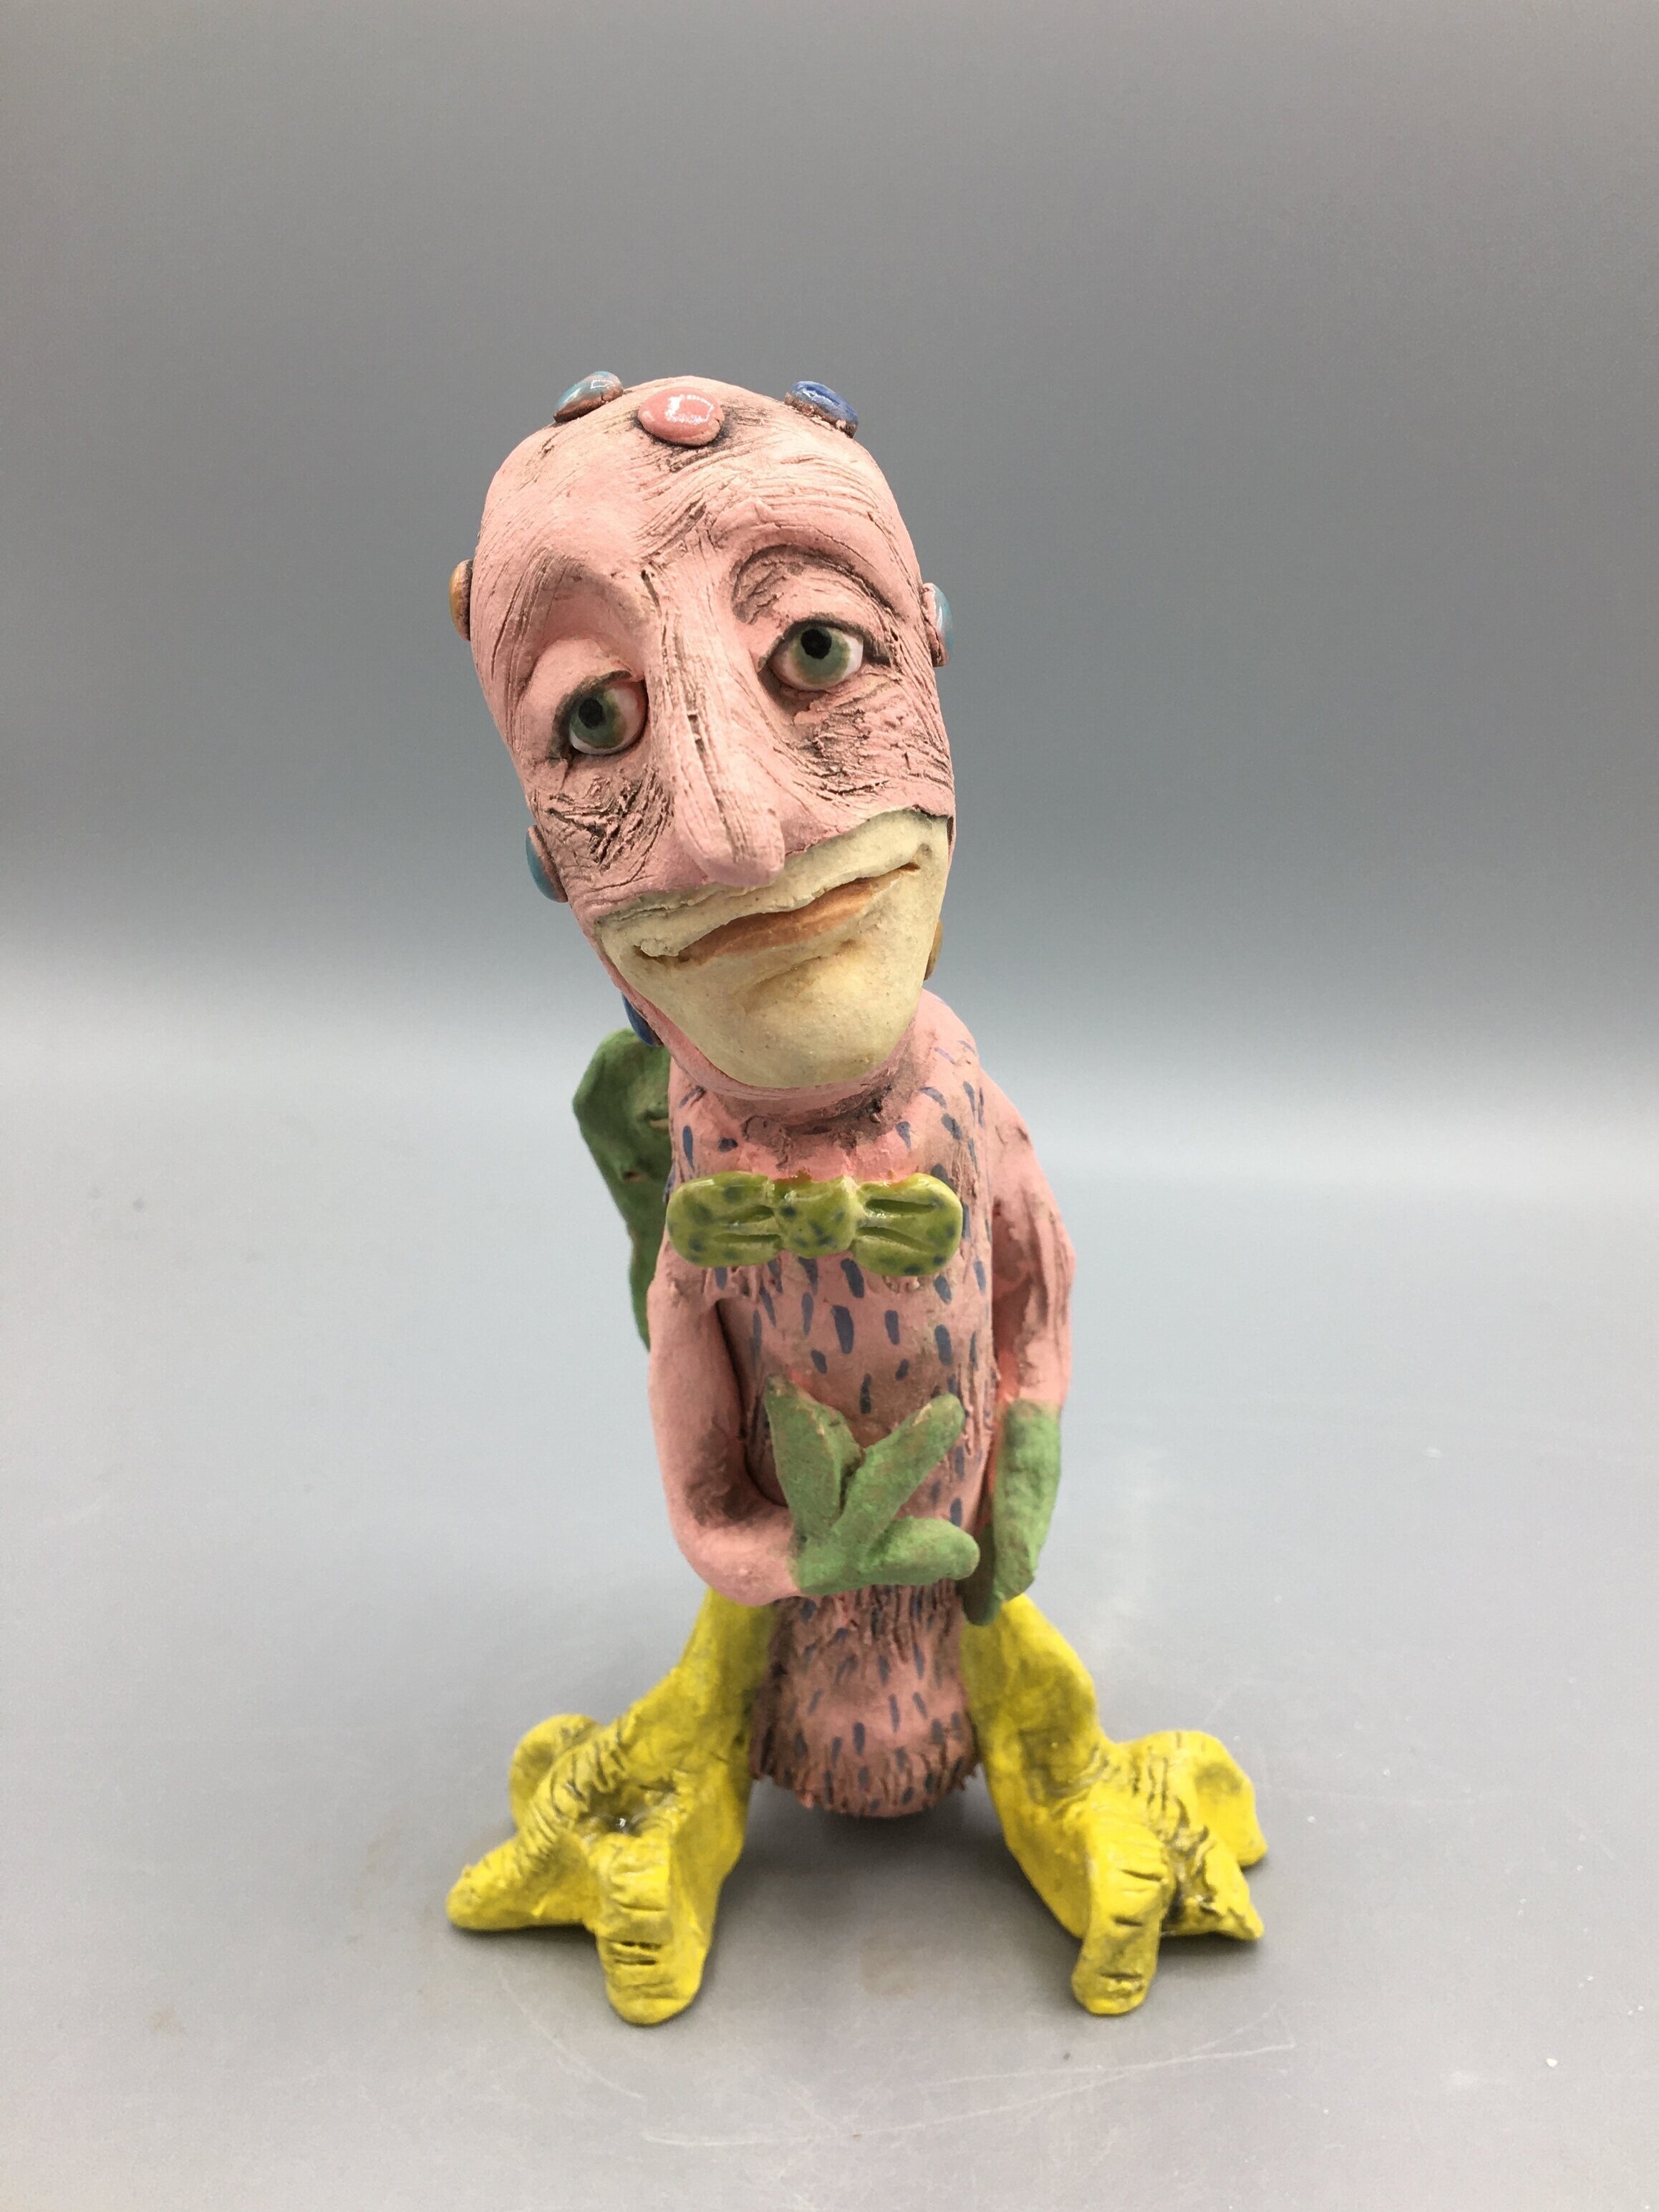
I have a pottery friend who hand builds these fanciful creatures from coil pots or slabs. Each week when I visit the pottery studio she has fashioned a new creature out of clay. I have watched her create alpacas, dodo birds, chickens, dragons, fish and all sorts of jars and vessels. I have wanted to work on some collaborating for some time and suggested we try our hand at Exquisite Corpse. This is an exercise that the surrealist artists would practice and always fascinated me. Each artist would work on one part of a body, not knowing what the other artist was doing. So this spring, just at the onset of the pandemic we implemented our plan. She handed off a few bodies and I sent her a couple of heads. I got to work on creating a few heads for her bodies and fired and glazed them in my kiln. Here are two that I completed last week..
This little guy will have wings that my artist friend will stitch into hole openings in his back.

I loved the different sections and textures that the artist created on her caterpillar. I tried my best to highlight them with under glazes.

My pottery friend is so great with details, I am envious. How about those sneakers?

This is a head sculpture that I handed off. I made this piece with the intent of putting him in my garden when completed. I’m seeing some type of plant growing out the top of his head, but I will have to wait to see how he is completed.

This head has a hole in the top. I want to make a fountain out of him. I am so excited to see him completed
Where do my ideas come from?
People ask me how long it takes to create a piece and where do my ideas come from. So I decided to share the design and execution of a recent piece. While writing my morning pages ( an exercise I learned from Julie Cameron’s The Artist’s Way) the idea of the vintage coin operated kiddie rides popped into my mind. I remember as a child riding on them when shopping with my mom. My favorite was always the horses, but I have ridden in cars and rocket ships. I love the work of Mike Cinelli and have tried out his technique on a few pieces in the past. This time I decided to make a larger piece that would need to be constructed in several stages, requiring planning and rest time for the clay. So here is my Space Patrol rocket ship, birth and development.

I dug around on the internet to find some photos for reference.
I begin by fashioning the nosecone from a slab of clay that I turn into a cylinder, then slowly paddle to close the top into a cone shape.
I sculpt the figure and make the back section of the rocket. Each time I sculpt a new section I have to let the clay rest to firm up a bit, this ensures stronger bonds when I begin to put pieces together.


I fashioned a cardboard base to check for scale.

These are the little rivets that try to capture the amazing Mike Cinelli”s style.
The final underglaze wash will highlight these details.

Here is the piece waiting for bisque firing. The base has been painted with colored slip and I hand lettered the base hoping it has a weathered, retro look.